MY PERSONAL SYSTEM

A car audio system of this magnitude takes a lot of planning and a lot of work if it is to be done correctly. Fortunately, designing and creating high end car audio systems is something I have loved doing since the 1980's.
Since I own a business that deals with high end car audio systems exclusively for Ferrari, it was only fitting that my Ferrari had a high end system worthy of the owner of Scuderia Audio.


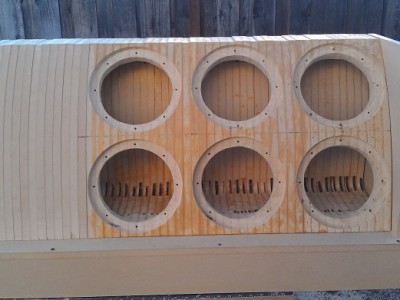
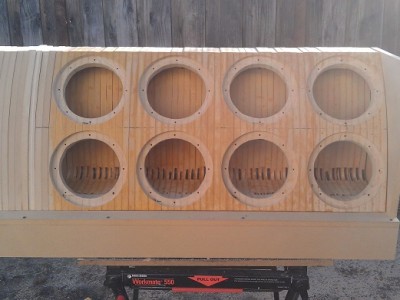
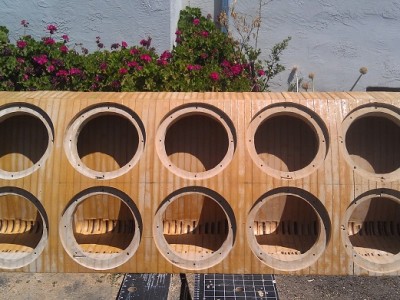
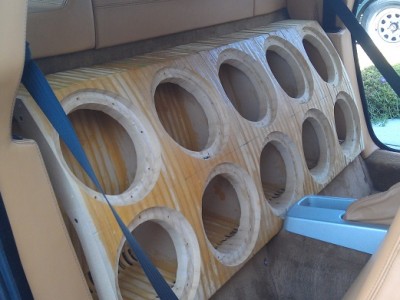
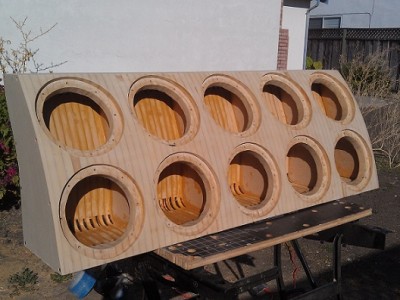
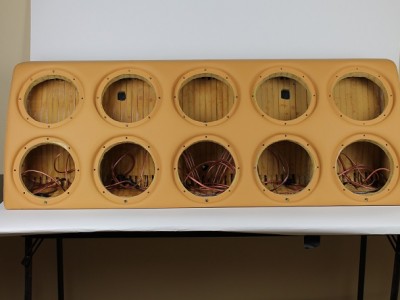
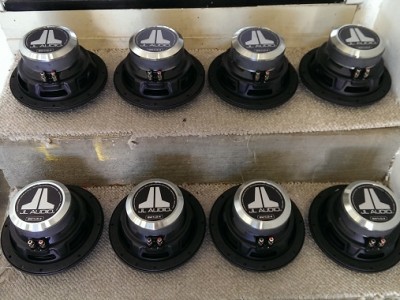
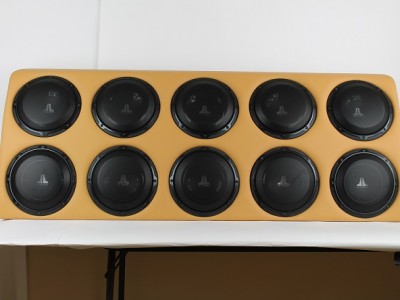
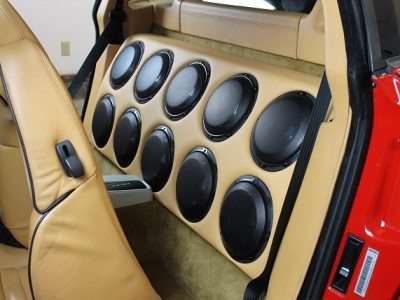
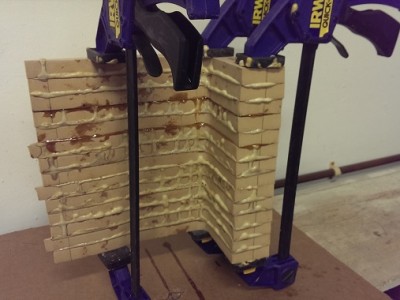
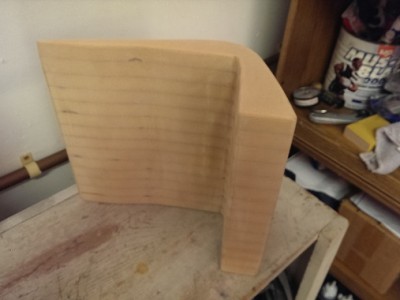
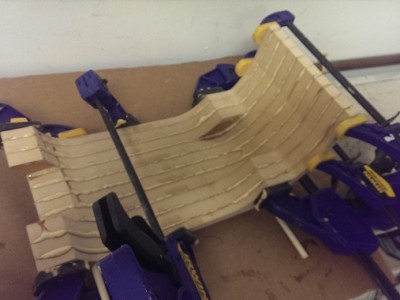
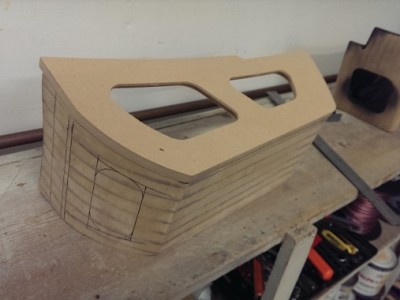
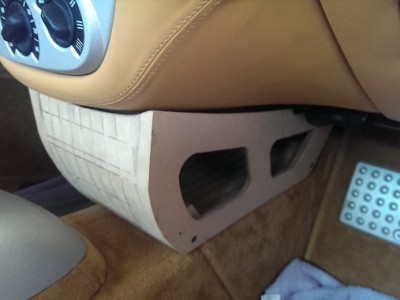
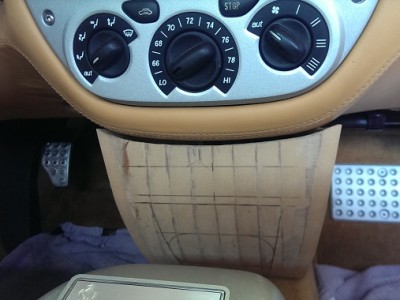
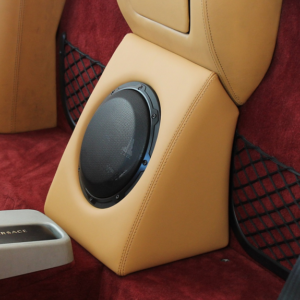
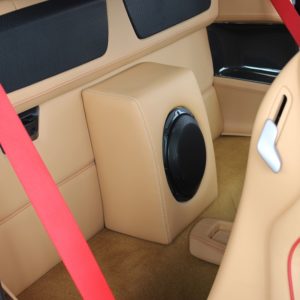
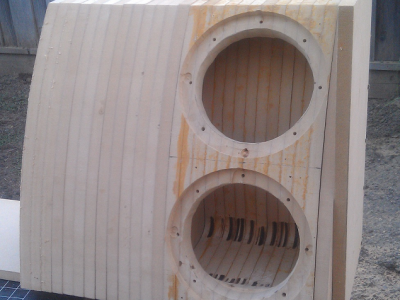
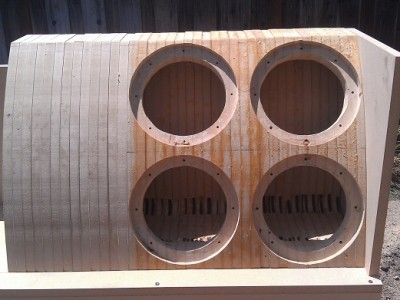
Since the goal of this project was to create a car audio system for demonstration purposes, the first step was to figure out just how many speakers could fit inside the car. A few measurements indicated that I could stuff ten 8" subwoofers behind the seats. Using the same technology as I use to construct the subwoofer enclosures for my customers, I created an enclosure using the layering system. The main difference is that instead of using 13 inner plates and 2 end plates, I used 60 inner plates and 6 end plates to create one enclosure that contains five individual compartments, each housing two 8" subwoofers. The OEM subwoofer enclosure (and the Scuderia Audio enclosures) are bolted to the center of the engine access panel by means of either two rivnuts or one of our stainless mounting brackets in the same location. What I did was remove four bolts from each corner of the engine access panel, cut four one inch diameter holes in the back of the 10 sub enclosure, then secure the box to the firewall using four stainless threaded rods. This created a 4 point, super secure enclosure.
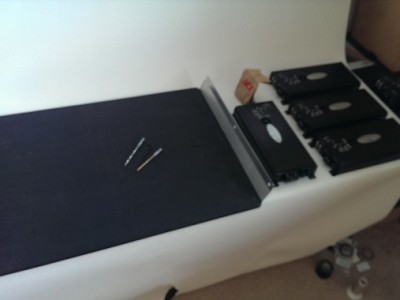
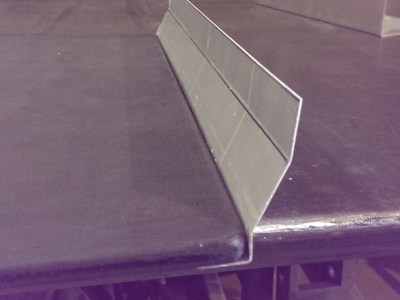
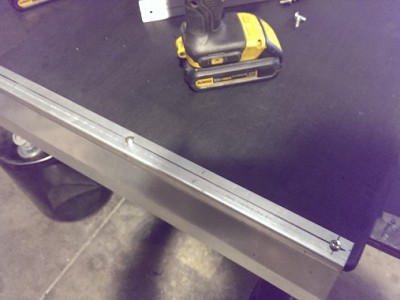
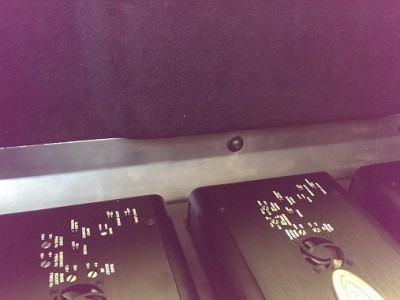
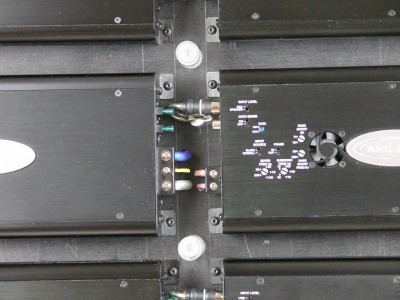
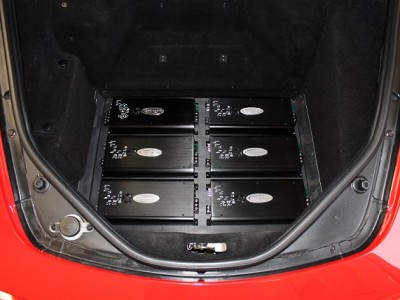
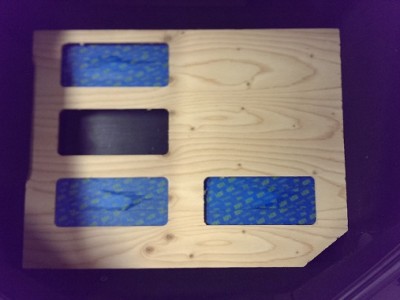
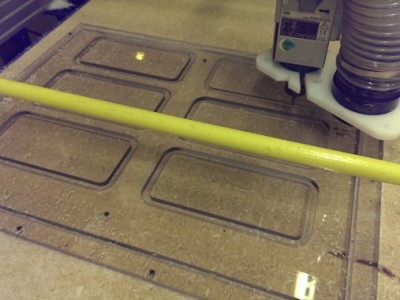
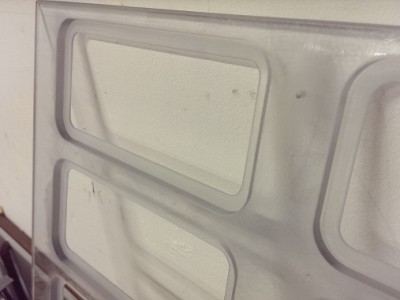
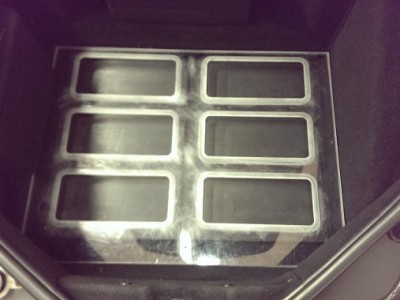
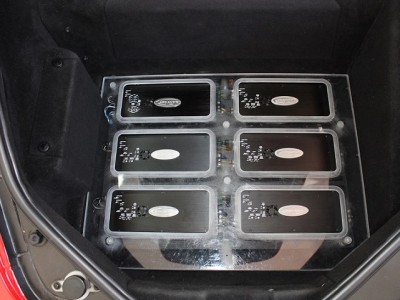
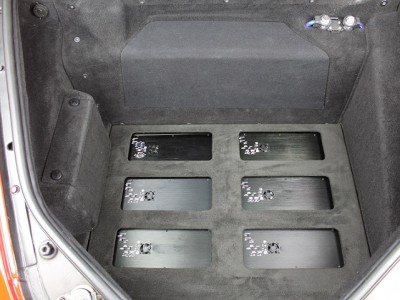
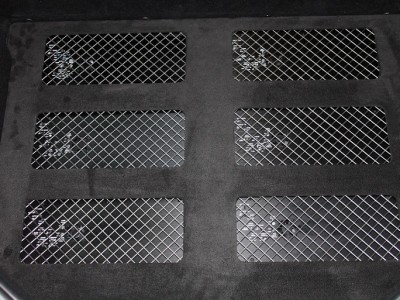
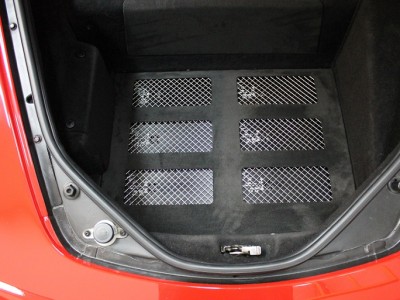
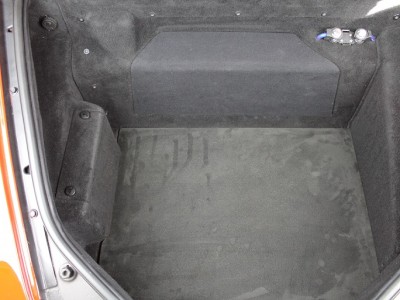
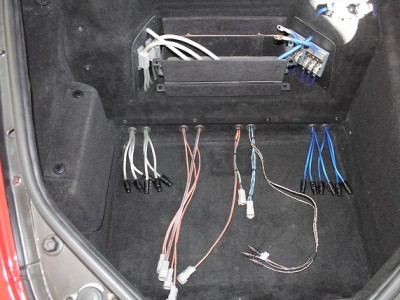
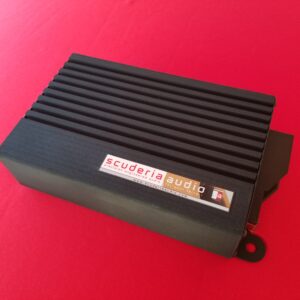
The next phase was to determine how much amplification could physically fit inside the trunk. A few measurements indicated that the floor pan was just large enough to accommodate six Arc Audio KS 125.4 amplifiers for a total of 3000 Watts. 250 Watts apiece for each subwoofer and 500 Watts for the midrange and tweeters, sounded just about right. I had a piece of 1/2" thick HDPE (High Density Polyethylene) and fabricated two aluminum mounting brackets to hold this "mounting plate" on the bottom of the floor pan by using existing hardware (no cutting or drilling). The amplifiers were secured to the mounting plate with metric machine screws. Next, a decorative cover was machined out of 1/2" polycarbonate with six radiused openings, one for each amplifier, and instead of covering each opening with a glass or clear polycarbonate insert, I opted to use welded stainless mesh with the same OEM specs as the mesh used in the air intake vents and the front challenge grills. This provided better cooling for the amps as well as conforming to the motif of the car design. Finally, a 1/4" thick piece of polycarbonate was wrapped in Alcantara to sit atop of the decorative cover so the trunk could be set up for daily use.
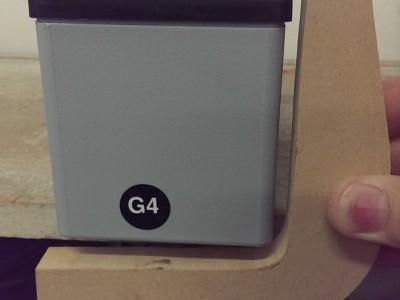
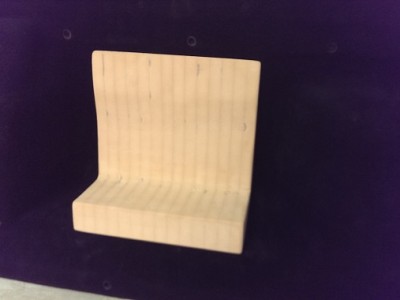
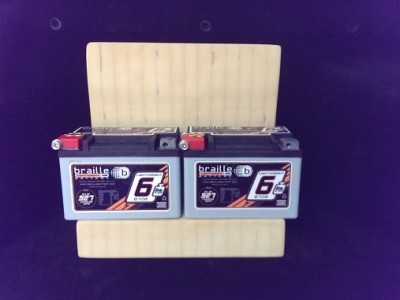
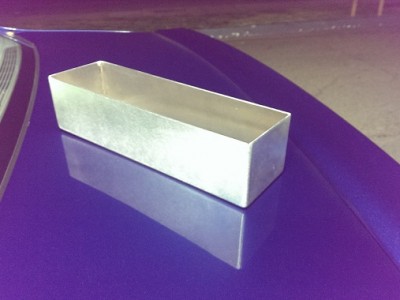
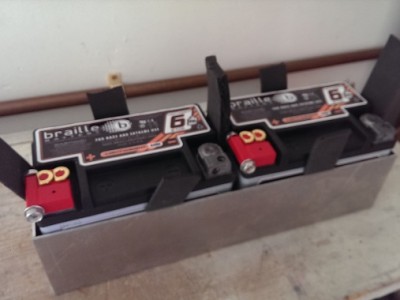
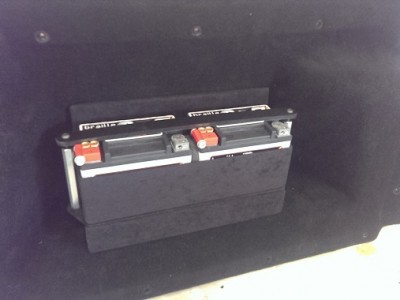
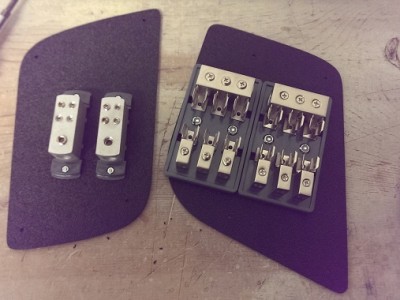
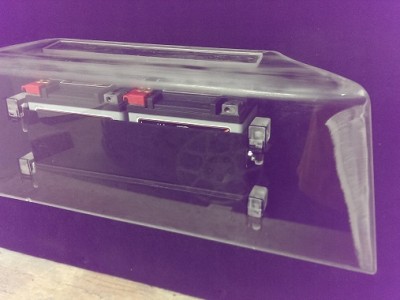
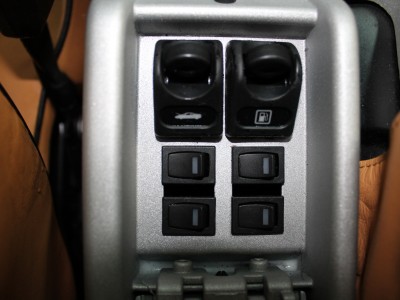
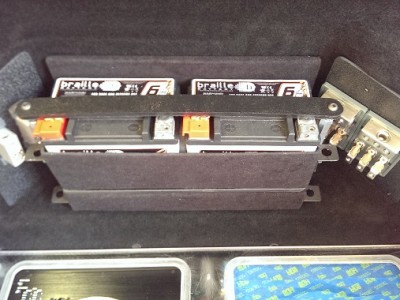
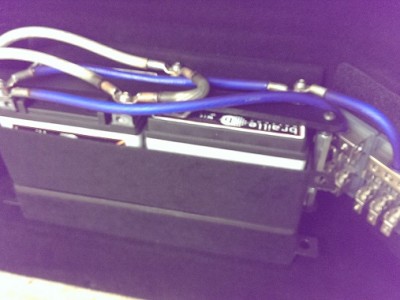
I didn't want to have to start the car every time I played some demo music at a car show or sound competition, so it was clear that one battery would be insufficient. Some research revealed a company by the name of "Braille" that manufactures batteries for racing cars that have a very small footprint, yet carry the same capacity as full sized car batteries. I purchased two of these, then manufactured an aluminum container that mounts to a wooden base the is attached to where the "Fix a Flat" bag would otherwise be strapped in at the front of the trunk. I drilled out the rivets that held the leather straps in place, then bolted in the assembly (still no cutting into anything). When I sell the car, I remove the battery assembly and bolt the straps back into place with nice, black, rounded allen head cap screws (which would look better than rivets anyway). All wire used for battery connections is zero gauge copper wire with crimped and brazed connectors. I installed a solenoid that is operated with a toggle switch located in the center console. When the switch is off, no current is drawn from the main car battery during stereo operation, only the two racing batteries are used. When the switch is on, the racing batteries are allowed to be charged by the alternator while driving the car. I simply flip the switch off during a lengthy sound demo, and I will not have to worry about getting the car started so I can drive home.
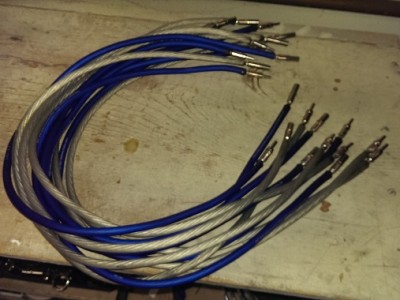
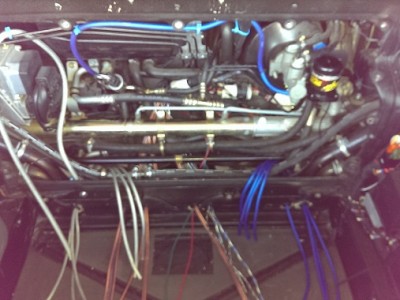
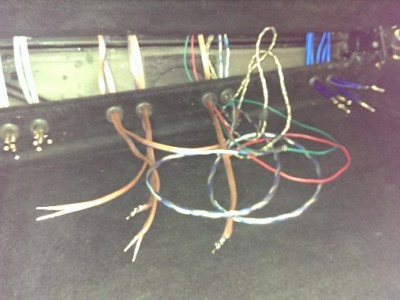
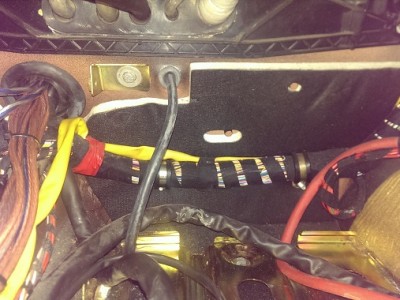
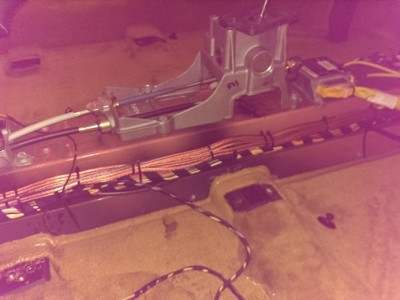
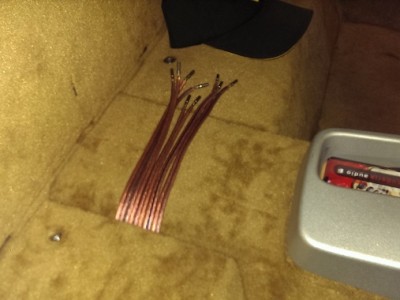
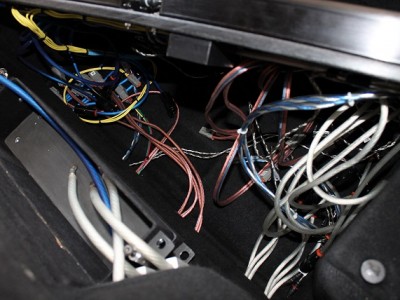
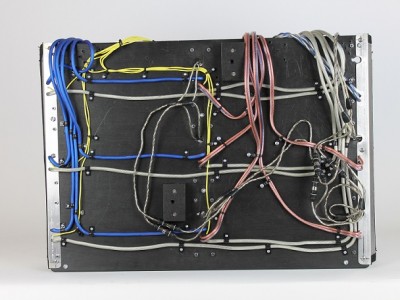
Next up was the arduous task of wiring. Not only were there hundreds of feet of wire to connect all of the speakers to the amplifiers, I had to run wiring to and from the center console to accommodate special toggle switches to control the battery solenoids. Since every major component had to be removable in minutes, I used Deutsche connectors everywhere. I tried to color code the wiring as much as possible and to align the wiring to eliminate noise and crosstalk. The speaker wires run under the center console and come up at the firewall to plug into the bottom of the large enclosure. To remove the enclosure, unbolt the speakers, back out the six firewall fasteners, unplug five two post Deutsche connectors and pull the enclosure up and out. I can do this myself in about 10 minutes. For everyday use, I just bolt in one of the standard subwoofer enclosures, then set the toggle switches to only power up one amplifier. 1000 Watts is more than enough for day to day use.
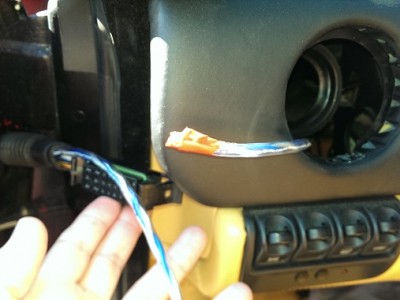
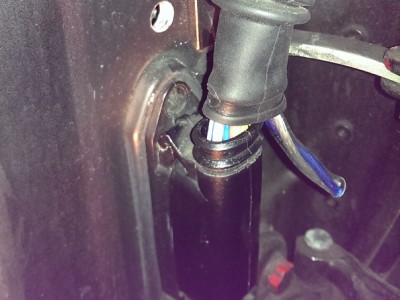
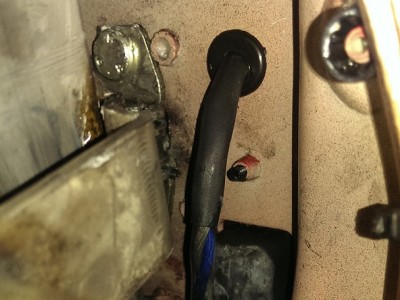
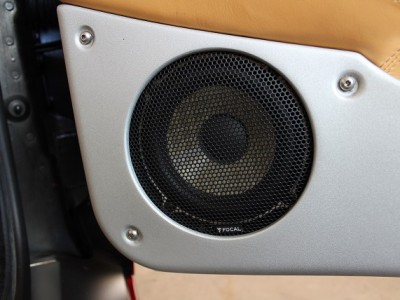
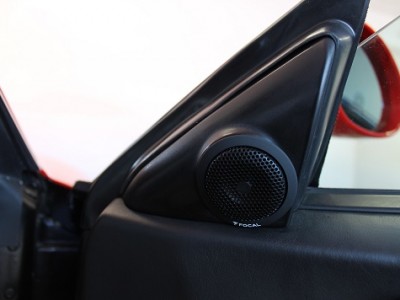
The component speakers were next up to be installed. This was just as straightforward as my video suggests, with the exception of the wiring. Since these component drivers needed to keep up with 2500 Watts of earthquake producing subs, I needed to run some heavy gauge wiring into the doors. If you remove the vents on both ends of the dash, you'll see that the hard plastic tube that houses all of the wires that run through the flexible, rubber tube and into the door starts right behind where the vents are mounted. It's easy to snake the wires through once you have access to that starting point. Everything is tie wrapped and shielded to prevent chafing and electrical problems. The 14 gauge speaker wire really did the job too - I had to actually install a fader to turn the volume down on the midrange and tweeters.
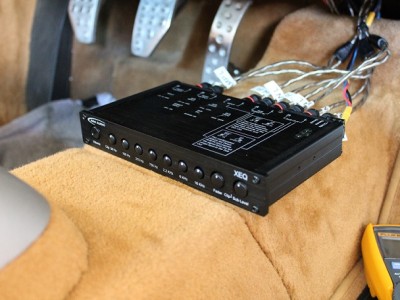
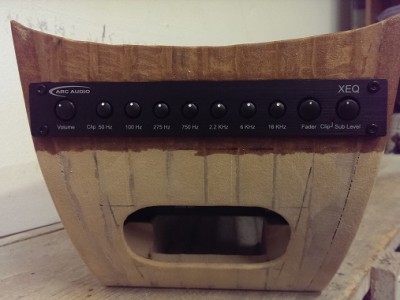
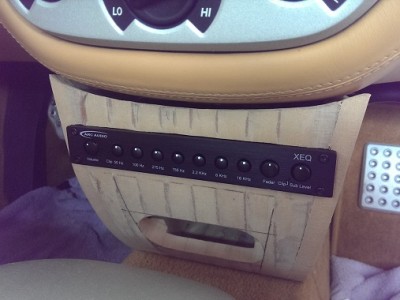
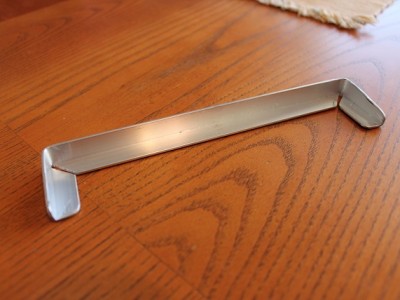
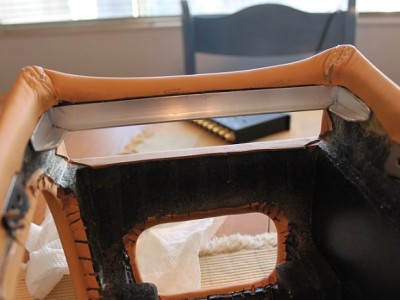
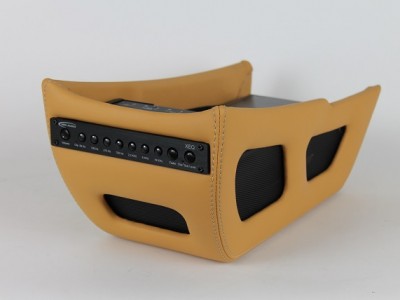
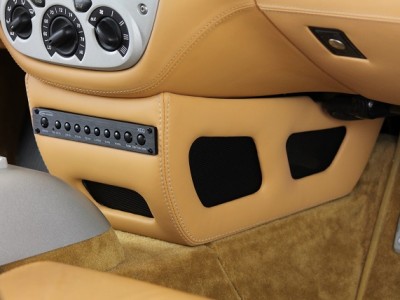
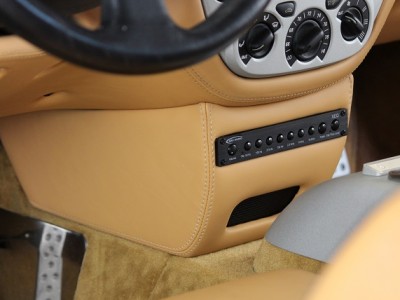
The super cradle was the next item to be installed. As the amplifier cradle video shows, this is pretty straightforward. The super cradle mounts in the same fashion as its smaller counterpart, with the stainless steel hook and catch system in the front and the bolt and wing nut through the plastic center cover in the back. The cradle is solid as a rock and the equalizer is within easy reach of the driver for real time adjustments.
The head unit was the last item to be installed. Very straightforward, just use one of the Ferrari compatible harnesses and, since external amplifiers were used, only a few wires had to be connected. There are no "pops" when the system comes on (thanks to the high end Arc Audio equipment) and the components are basically noise free.


Tuning a system this size is a real challenge. Constant adjustments needed to be made. We had three, two hour sessions just to get the system dialed into a nominal setting. With both large and small systems, it's always a good idea to tune the midrange and tweeters with the bass off or disconnected. If your high end sound stage doesn't sound good without any bass, then adding bass isn't going to magically make it sound any better. The bass will make the sound more full, but resist the temptation to just hook everything up, then crank it. The difficulty arises when the listener's tastes are eclectic. You may find the settings for heavy metal are not optimal for jazz or classical. Since I am a big contemporary jazz fan, this system has a slight lean toward those tones. However, I know which frequencies to adjust on the equalizer to be able to produce a dazzling demonstration of heavy metal music with all 3000 Watts and all 14 speakers firing. It really is hard to describe. The entire car shakes and the sound car be heard from far off. When giving demos, I always wear ear plugs with head phones over those for extra protection. It's always a blast to demo the car for people who have never heard a sound system like this. Lots of fun!!

Comments are closed.